We are all aware of the connection between the Page types and Pages applications in Kentico, and how hard it is to connect these two, especially when we are not fully familiar with the project, or if display names or code names are not displayed in our native language. That can make it really tough when we try to render some field values on the page, because we must know the exact name of the field. If that is not the case, we need to follow several steps to come to the solution, like switching to the general tab and checking the display name of the page type, then open the Page types application and search over page types by a display name. Only then can we find the proper field name and copy it back to the web part on the Page or Design tab.
It would be much easier if we could access the page type of the current page directly from the pages application, where we can see detailed specifications about current page type, including field names, adding explanation text below specific fields and much more.
After short investigation, we found a way how to get over this issue while applying minimal changes in the Kentico eco-system, and even preserving default Kentico look & feel.
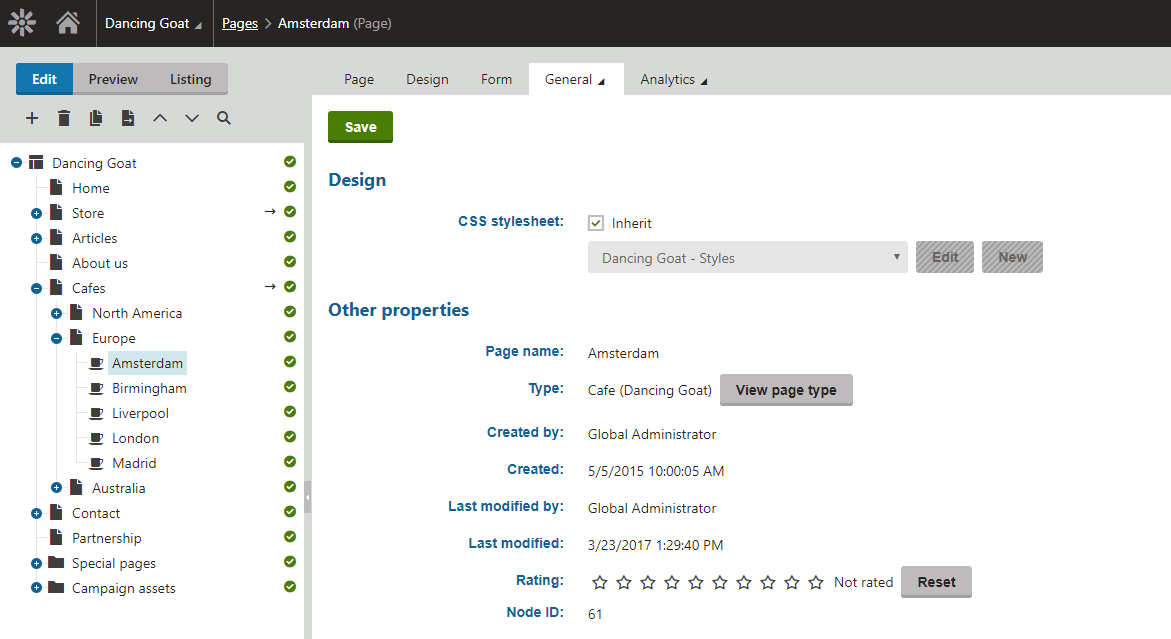
An additional button has been added next to the page type name
As you can see on image above, we have extended the General tab with an additional button right after the display name of the page type. Clicking this button will open a modal dialog, which is a default UI modal dialog in the Kentico CMS. The dialog will contain the native Page types application, where we can also add additional transformations, queries or even a new field. After we save it and close the dialog, every change will be visible on the Form tab without refreshing the complete Pages application.
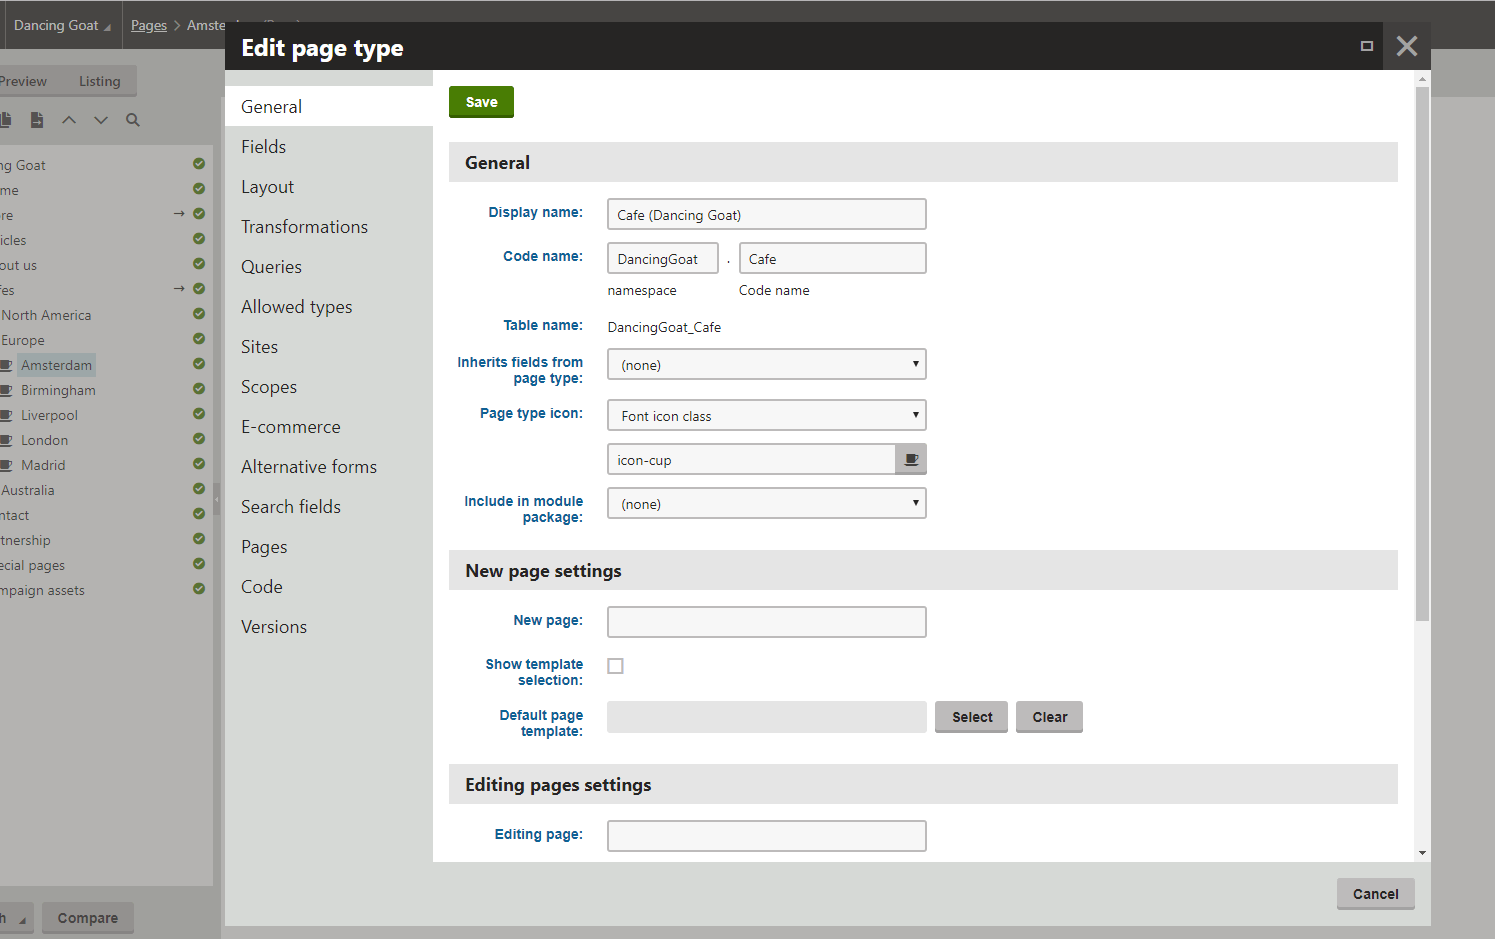
The Page types application fully loaded in a modal dialog
In order to display the additional button on the General tab, we need to implement it first in the General.aspx file, located in the ‘~/CMS/CMSModules/Content/CMSDesk/Properties’ folder, relative to the root of the Kentico application. Here you can apply any desired button styling. We chose to use the cms:LocalizedButton class with multi-language support, but of course a regular asp:LinkButton works just fine as well. If you want to use the localized button, don't forget to create a custom localization string and reference it through the ResourceString property, as shown below.
<div class="form-group">
    <div class="editing-form-label-cell">
        <cms:LocalizedLabel CssClass="control-label" ID="lblTypeTitle"
                            ResourceString="GeneralProperties.Type"
                            runat="server" EnableViewState="false" />
    </div>
    <div class="editing-form-value-cell">
        <asp:Label ID="lblType" runat="server" EnableViewState="false"
                   CssClass="form-control-text" />

        <%-- Here we added the localized button that will open the modal dialog --%>
        <cms:LocalizedButton ID="btnViewPageTypeDetails" runat="server"
                             ButtonStyle="Default" EnableViewState="false"
                             ResourceString="EXLRT.Custom.ViewPageType"
                             Visible="false" />
    </div>
</div>
For the implemention of this feature, we used the default Kentico modal dialog. You only need to create a proper URL and to pass it to the modalDialog JavaScript function (see the code snippet below). This must be added in the code behind of the General.aspx page from the previous snippet, more specifically in the Page_Load event handler. The most important thing is to pass the correct module code name, UI element code name and the object id of the desired page type, in this case the ClassID of the current page type. You can find all information easily in the Modules application by navigating to the particular module and element on the User interface tab. Additionally, it would be nice to also check for permissions and hide the button if the current user does not have required permissions to see or change anything in the Page types application.
The downside of this approach is of course, that after applying a hotfix or upgrade to a newer Kentico version, all changes might get lost and you need to repeat these steps to make it work again. To avoid that, you can always create a new tab that contains a direct link to the current page type and maybe more details, which will make your life much easier. That way, you preserve all your changes even with a new Kentico version.
What's also great about this approach, it is reusable. You can link any kind of application inside Kentico, including custom modules. That can be useful if your custom module depends or uses data from other applications.